Step 1 – Create an Atlantic.Net Cloud Server
Once you are logged in to your CentOS 8 server, run the following command to update your base system with the latest available packages.
sudo dnf update -y
Step 2 – Install Java
Rundeck is written in Java, so Java must be installed in your system. If not installed, you can install it with the following command:
sudo dnf install java -y
After installing Java, you can verify the installed version of Java using the following command:
java -version
You should see the following output:
openjdk version "1.8.0_262"
OpenJDK Runtime Environment (build 1.8.0_262-b10)
OpenJDK 64-Bit Server VM (build 25.262-b10, mixed mode)
Step 3 – Install and Configure MySQL
Rundeck uses a MySQL database to store the job and other history, so you will need to install MySQL on your server. You can install it with the following command:
sudo dnf install mysql-server -y
Once installed, start the MySQL service and enable it to start at system reboot with the following command:
sudo systemctl start mysqld
sudo systemctl enable mysqld
Next, you will need to create a database and user for Rundeck. First, log into the MySQL shell with the following command:
mysql
Once logged in, create a database and user with the following command:
create database rundeck;
create user 'rundeckuser'@'localhost' identified by 'rundeckpassword';
Next, grant all the privileges to the Rundeck database with the following command:
grant ALL on rundeck.* to 'rundeckuser'@'localhost';
Next, flush the privileges and exit from MySQL with the following command:
flush privileges;
exit;
Step 4 – Install Rundeck
By default, Rundeck is not available in the CentOS 8 default repository, so you will need to add Rundeck repository to your system.
First, import the Rundeck GPG key with the following command:
sudo rpm --import http://rundeck.org/keys/BUILD-GPG-KEY-Rundeck.org.key
Next, add the Rundeck repository with the following command:
sudo dnf install -y http://repo.rundeck.org/latest.rpm
Next, install Rundeck by running the following command:
sudo dnf install rundeck -y
Once Rundeck is installed, you can proceed to the next step.
Step 5 – Configure Rundeck
Next, you will need to define your server address and database details in the Rundeck configuration file. Edit the Rundeck default configuration file as shown below:
sudo vi /etc/rundeck/rundeck-config.properties
Change the following lines:
grails.serverURL=http://your-server-ip:4440
dataSource.dbCreate = update
dataSource.url = jdbc:mysql://localhost/rundeck?autoReconnect=true&useSSL=false&serverTimezone=UTC
dataSource.username=rundeckuser
dataSource.password=rundeckpassword
dataSource.driverClassName=com.mysql.jdbc.Driver

Save and close the file when you are finished, then start the Rundeck server and enable it to start at system reboot with the following command:
systemctl enable rundeckd
systemctl start rundeckd
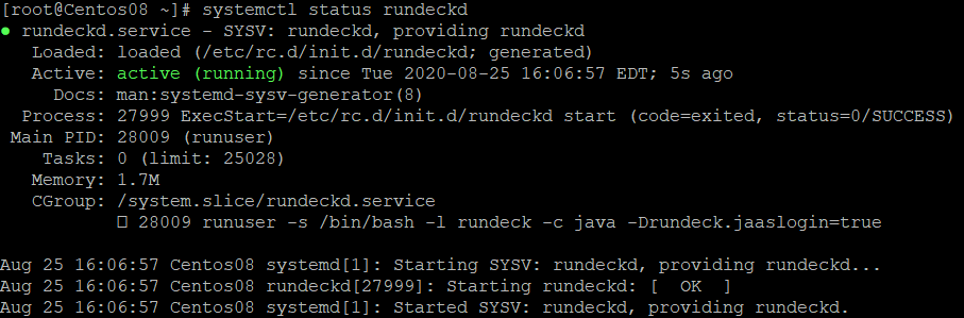
You can now verify the status of the Rundeck service with the following command:
systemctl status rundeckd
You should get the following output:
Step 6 – Access Rundeck Web Interface
At this point, Rundeck is started and listening on port 4440. Now, open your web browser and type the URL http://your-server-ip:4440. You will be redirected to the Rundeck login page:
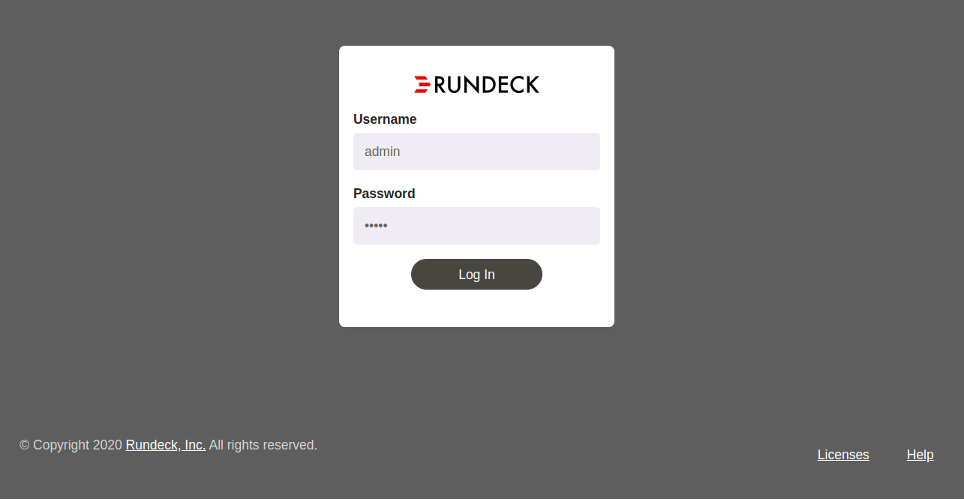
Provide the default username as admin and password as admin and click on the Log In button. You should see the Rundeck dashboard in the following page:
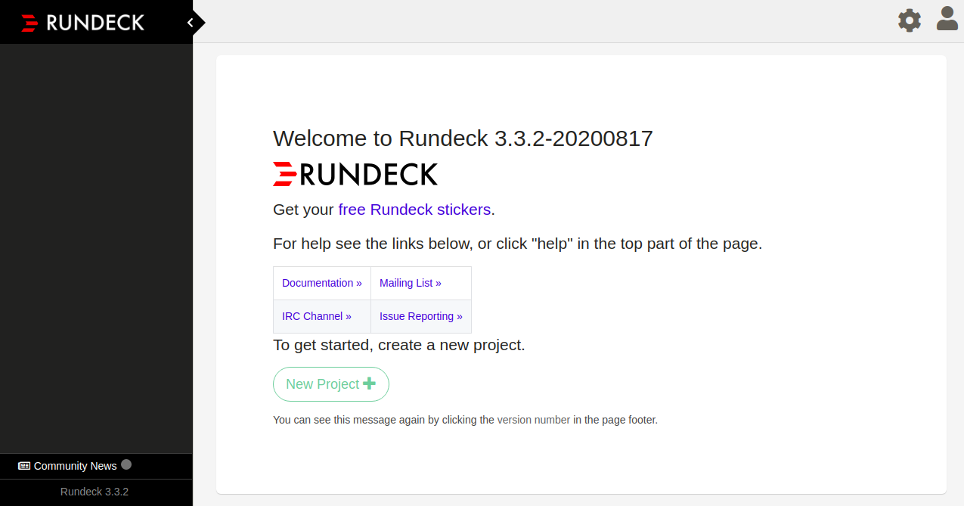
Next, click on the New Project button to create a new project. You should see the following page:
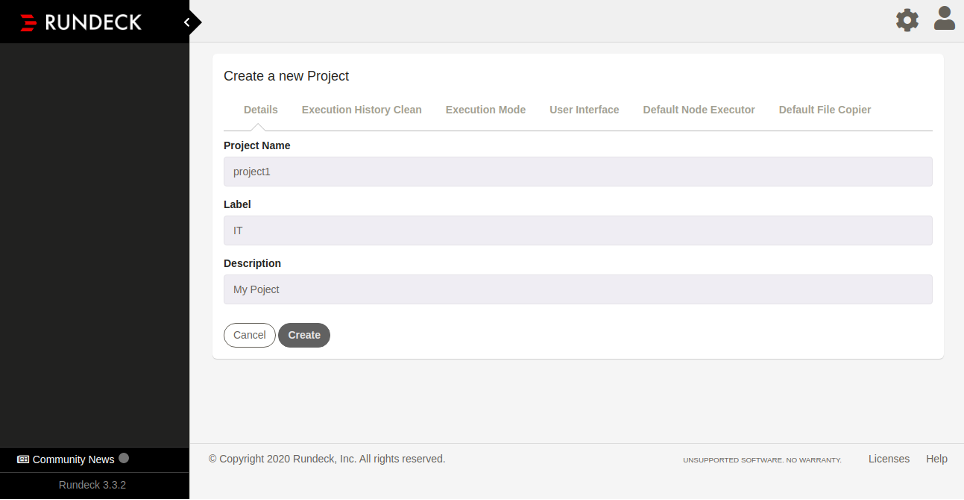
Provide your project name, label, and description and click on the Create button. You should see the following page: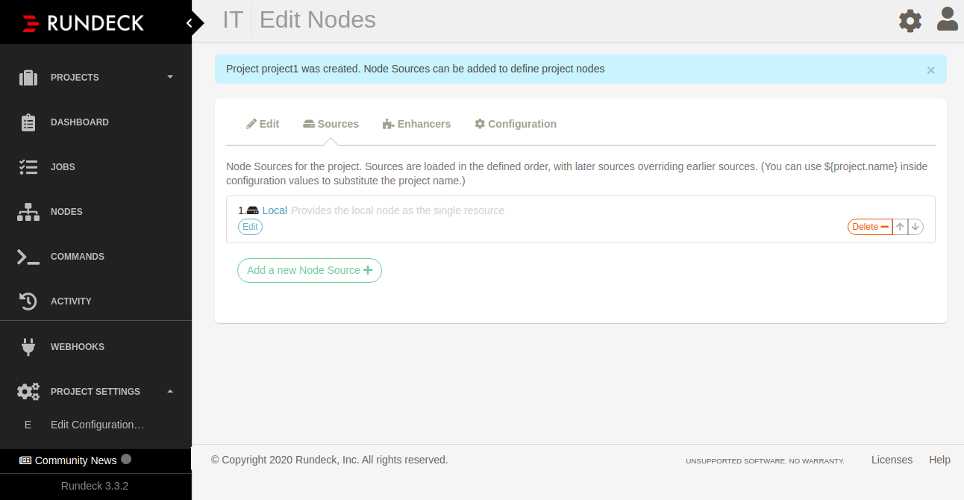
Click on the Commands in the left pane. You should see the following page:
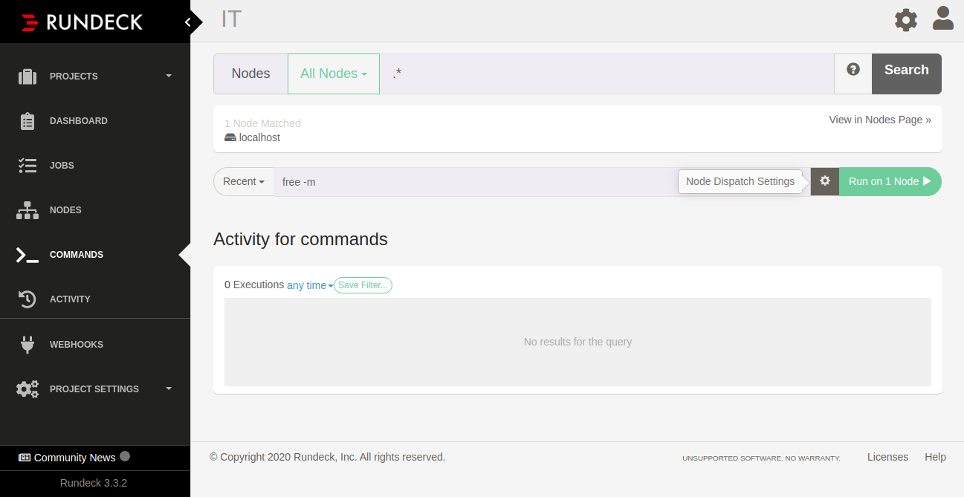
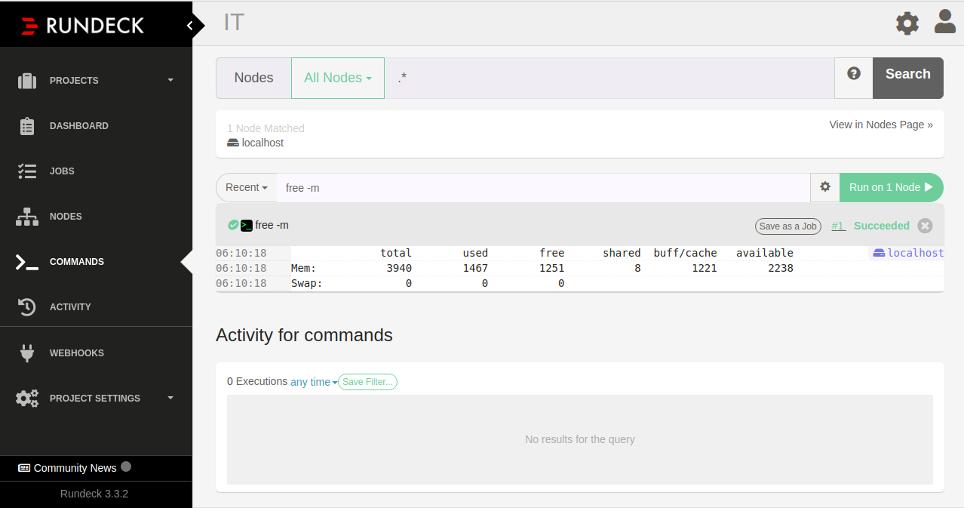
Type the command “free -m” and click on the “Run on 1 Node“. This will execute the command on the localhost and display the output of the command as shown in the following page:
Conclusion
In this guide, we learned how to install Rundeck and integrate it with the MySQL database on CentOS 8. We have also created a new project and execute commands with Rundeck.
No comments:
Post a Comment